


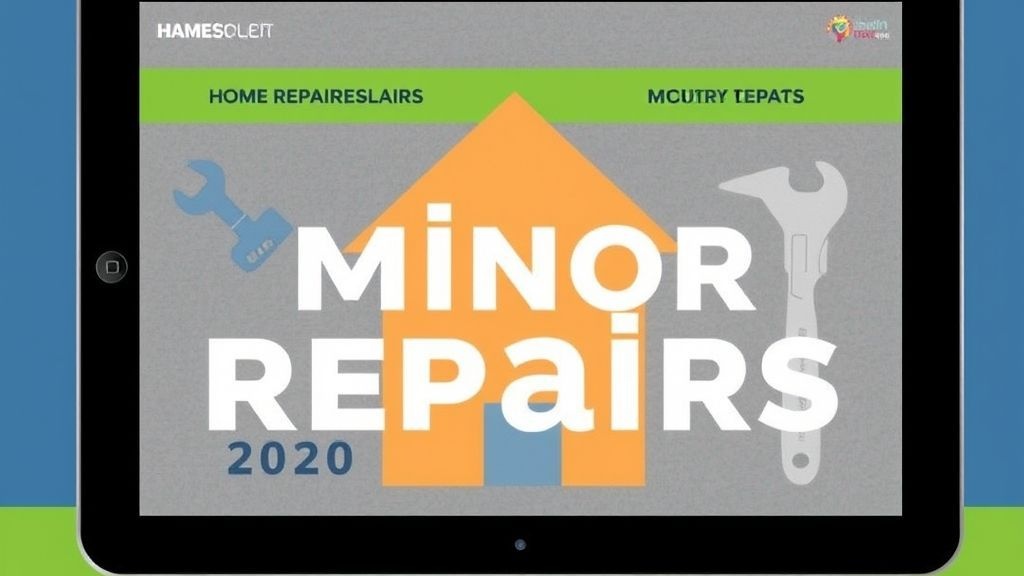
Best Proven Home Minor Repairs Guide 2025
Introduction
Your home is a significant investment. Keeping it in top shape is very important. Small issues can become big problems quickly. Ignoring them costs more money later. This guide helps you tackle common home problems. It focuses on essential Minor Repairs you can do yourself. You will save money and gain confidence. Learn how to keep your home beautiful and functional. This guide is your trusted resource for 2025. Addressing these Minor Repairs promptly ensures long-term home health.
Many homeowners feel overwhelmed by maintenance. They think repairs are too complex. This is often not true. Simple fixes prevent major headaches. Regular upkeep extends your home’s life. It also boosts its value. Our guide breaks down tasks into easy steps. You do not need special skills to start. Just a willingness to learn is enough. Get ready to empower yourself. Take control of your home’s well-being today, starting with these practical Minor Repairs.
Planning
Good planning is key to any successful project. This is especially true for home Minor Repairs. Rushing into a task can lead to mistakes. It can also cause more damage. A little preparation saves time and effort. It also helps you avoid frustration. Think about what you need before you begin. Consider the tools and materials required for various Minor Repairs. Understand the scope of the repair. This section helps you plan effectively. It ensures your repair goes smoothly.
Key Considerations
-
Assess the Damage Carefully: Look closely at the problem area. Understand what caused the damage. Determine if it is a simple fix. Decide if it needs professional help. A thorough assessment prevents surprises. It helps you choose the right approach. Do not guess the problem. Investigate it fully.
-
Gather the Right Tools: Having the correct tools is crucial. Make a list of what you need. Check your toolbox before starting. Borrow tools if you do not own them. Using the wrong tool can damage things. It can also make the job harder. Proper tools ensure a safe repair.
-
Estimate Your Time Commitment: Think about how long the repair will take. Some Minor Repairs are quick. Others might take a few hours. Set aside enough time for the task. Do not rush the process. Allow for unexpected delays. A realistic timeline reduces stress.
-
Set a Realistic Budget: Even small repairs can have costs. Buy quality materials for lasting results. Compare prices for parts and supplies. Factor in any tool rentals. A budget helps you stay on track. It prevents overspending on your project. Always have a little extra for unforeseen needs.
-
Prioritize Safety First: Always put safety above all else. Wear protective gear like gloves and eyewear. Turn off power or water if needed. Read all product instructions carefully. Work in a well-lit area. Do not take unnecessary risks. Your safety is the most important thing.
Cost Analysis
One major benefit of DIY Minor Repairs is cost savings. Professional services can be expensive. They charge for labor and materials. Doing the work yourself cuts down on these costs. You only pay for the parts you need. This section explores typical repair costs. It shows how much you can save on these common Minor Repairs. Understanding these numbers helps you make smart choices. It empowers you to manage your home budget better. You will see the real value of your effort.
Many small issues are easy to fix. A leaky faucet is a good example. A professional might charge hundreds of dollars. You can fix it for under fifty dollars. Patching a small hole in drywall is another common task. Hiring someone costs a lot. Doing it yourself is very cheap. This guide helps you identify these opportunities. It encourages you to take on more projects. Your wallet will thank you for it. Invest in your skills, not just services.
Price Comparison
| Repair Task | DIY Cost (Approx.) | Professional Cost (Approx.) | Potential Savings |
|---|---|---|---|
| Leaky Faucet Repair | $10 – $50 (for parts) | $100 – $300 | $90 – $250 |
| Small Drywall Patch | $20 – $60 (for kit/materials) | $150 – $400 | $130 – $340 |
| Loose Door Handle Tightening | $0 – $10 (if new screws needed) | $75 – $150 | $75 – $150 |
| Clogged Drain Clearing | $5 – $20 (for cleaner/snake) | $100 – $250 | $95 – $230 |
| Replacing a Light Switch | $5 – $20 (for new switch) | $80 – $180 | $75 – $160 |
These figures are estimates. Actual costs may vary. They depend on material quality. They also depend on your location. However, the savings are clear. Doing these Minor Repairs yourself is smart. It frees up money for other things. Consider the long-term benefits too. You gain valuable skills. You become more self-reliant. This knowledge is priceless for any homeowner.
Step-by-Step Guide
This section provides clear instructions. It helps you complete common Minor Repairs. Each step is simple and easy to follow. We break down complex tasks. You will feel confident tackling them. Remember to gather your tools first. Always prioritize your safety. Read through all steps before starting. This ensures you understand the process. Let’s get started on some practical Minor Repairs.
DIY Instructions
Fixing a Leaky Faucet
A dripping faucet wastes water. It also makes annoying sounds. Fixing it is usually simple. You just need a few basic tools. This common Minor Repair saves water and money. It also stops the constant drip. Follow these steps carefully.
- Turn off the water supply. Find the shut-off valves under the sink. Turn them clockwise until tight.
- Cover the drain opening. This prevents small parts from falling. Use a cloth or stopper.
- Remove the faucet handle. Look for a screw under a decorative cap. Use a screwdriver to remove it.
- Take off the handle. Pull it straight up and off. Set it aside safely.
- Remove the packing nut. Use a wrench to loosen it. Turn it counter-clockwise.
- Pull out the stem or cartridge. This is the part that controls water flow. It might be plastic or metal.
- Inspect the O-rings or washers. These are small rubber rings. They often cause leaks when worn.
- Replace the old O-rings or washers. Take them to a hardware store. Buy exact replacements.
- Clean any mineral deposits. Use a small brush or vinegar. Ensure all parts are clean.
- Reassemble the faucet. Put the new parts back in order. Tighten the packing nut gently.
- Put the handle back on. Secure it with the screw. Replace the decorative cap.
- Turn the water supply back on. Open the shut-off valves slowly. Check for any new leaks.
- Test the faucet. Turn it on and off a few times. Ensure the leak is gone.
Patching a Small Drywall Hole
Small holes in drywall are common. They can come from nails or bumps. Patching them makes walls look new. This is an easy cosmetic Minor Repair. It improves your home’s appearance. You can do it quickly.
- Clean the area around the hole. Remove any loose debris. Use a damp cloth to wipe it.
- Trim any ragged edges. Use a utility knife for this. Make the hole edges smooth.
- Apply a self-adhesive patch. Choose a patch slightly larger than the hole. Press it firmly over the hole.
- Apply a thin layer of joint compound. Use a putty knife. Spread it evenly over the patch.
- Feather the edges of the compound. Make it blend with the wall. This creates a smooth transition.
- Let the compound dry completely. This can take several hours. Check the product instructions.
- Lightly sand the dried compound. Use fine-grit sandpaper. Make the surface perfectly smooth.
- Wipe away any dust. Use a damp cloth. Ensure the area is clean for painting.
- Apply a second thin layer of compound. Repeat steps 5-7 if needed. Aim for a perfectly flat surface.
- Prime the patched area. Use a small brush or roller. This helps paint adhere evenly.
- Paint the patched area. Match the existing wall color. Apply two coats if necessary.
- Allow the paint to dry fully. Enjoy your newly repaired wall. The hole is now invisible.
Tightening a Loose Door Handle
A wobbly door handle is annoying. It can also be a safety hazard. Tightening it is very simple. You usually only need a screwdriver. This quick Minor Repair makes doors feel secure. It prevents further damage to the door. Do this repair in minutes.
- Examine the door handle. Look for visible screws. They are usually on the side facing the door hinge.
- Choose the right screwdriver. It could be Phillips head or flathead. Match the screw type.
- Tighten the screws. Turn them clockwise until snug. Do not overtighten them.
- Check the handle’s stability. Wiggle it gently. It should feel firm and secure.
- If no screws are visible, look for a small hole. This hole might hide a set screw.
- Use an Allen wrench or small screwdriver. Insert it into the hole. Loosen or tighten the set screw.
- Some handles have a collar. Twist or pry off the collar. This reveals hidden screws.
- Tighten any newly exposed screws. Reattach the collar. Test the handle again.
- If the handle is still loose, inspect the spindle. It might be worn or bent.
- Consider replacing the entire handle. Sometimes, parts wear out. A new handle is a simple upgrade.
Maintenance Tips
Completing Minor Repairs is a great start. However, ongoing maintenance is vital. Regular care prevents future problems. It keeps your home in excellent condition. Proactive steps save you money. They also save you time and stress. Think of maintenance as an investment. It protects your biggest asset. These tips help you stay ahead. They ensure your home remains a comfortable haven, free from major issues due to neglected Minor Repairs.
Long-Term Care
-
Perform Regular Home Inspections: Walk through your home often. Look for small issues before they grow. Check for leaks, cracks, or loose parts. A quick monthly check is enough. Early detection saves big money.
-
Keep a Well-Stocked Tool Kit: Have essential tools ready. A hammer, screwdrivers, and pliers are a must. Add a tape measure and utility knife. A basic kit makes quick fixes easy. You will not waste time searching.
-
Address Issues Promptly: Do not delay small repairs. A tiny leak can cause mold. A loose screw can lead to breakage. Fix problems as soon as you notice them. Prompt action prevents escalation.
-
Learn New Skills Gradually: Start with simple repairs. Then try slightly more complex ones. Watch online tutorials. Read repair guides. Each new skill builds confidence. You become a more capable homeowner.
-
Know When to Call a Professional: Some jobs are too big. Electrical work or major plumbing needs experts. Do not attempt dangerous tasks. Recognize your limits. Calling a pro is sometimes the smartest choice.
Conclusion
You now have a powerful guide. It helps you with common home Minor Repairs. We covered planning, costs, and step-by-step fixes. We also shared important maintenance tips. Remember, your home is a valuable asset. Taking care of it with regular Minor Repairs is a rewarding effort. You save money and gain confidence. You also ensure your living space is safe and comfortable.
Do not be afraid to get your hands dirty. Start with simple tasks. Build your skills over time. Every successful repair is a victory. This guide empowers you for 2025 and beyond. Keep it handy for future reference. Your home will thank you for the care. Enjoy the satisfaction of a well